
How to start designing amigurumi
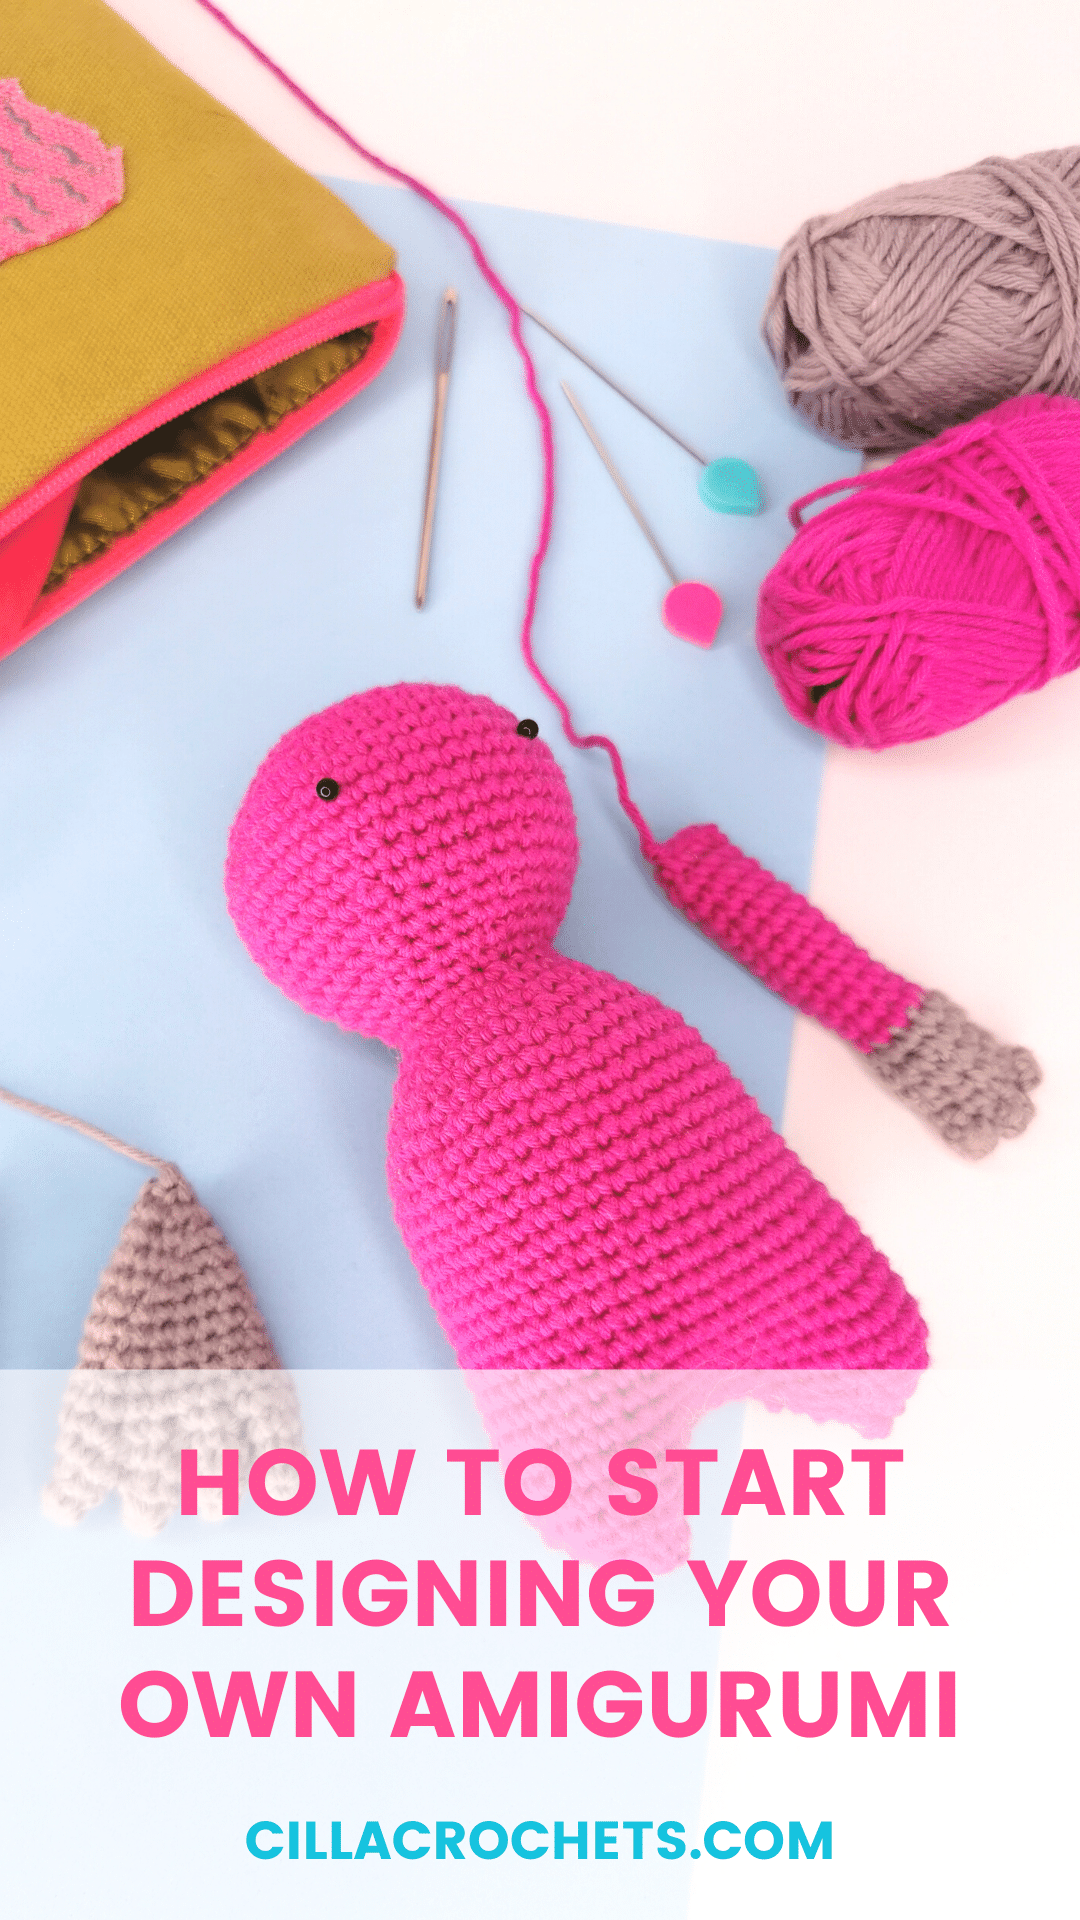
Discover the steps you need to start designing your very own amigurumi.
As someone who absolutely loves designing amigurumi, I thought I'd share what I know about the amigurumi designing process with you.
Now, there are many different methods to designing your own amigurumi, and there is no right or wrong! However, there are some key steps and tips I can offer that will make your life so much easier if this is something you're keen to try.
To give you a quick overview, this post covers:
How to get comfortable crochet amigurumi
Why you should first explore a range of different amigurumi patters by other designers
How to come up with original amigurumi ideas including some tips for you to try
Why you should draw your amigurumi idea out (even if you don’t want to)
How to identify the shapes you need to crochet
What to consider when choosing your yarn and colours
What else you need to do while you crochet your amigurumi design (if you want to launch a crochet pattern)
Pattern testing and more!
So, let’s get right to it and jump right in!
Get comfortable with crocheting amigurumi
Okay, this may be super obvious, but I've added it in just in case you're brand new to making amigurumi.
While you certainly could try to design the first amigurumi you make, I wouldn't recommend it. While crocheting amigurumi is still a form of crocheting, making amigurumi involves different techniques and stitch combinations in comparison to crocheting other items such as garments or homewares. While these crochet stitches are quite simple to learn (especially if you know how to crochet already), crocheting amigurumi requires tighter tension, and some practice with combinations of increases and decreases to create particular shapes.
If you're reading this post and you haven't made your first amigurumi yet but are keen to start designing, don't despair. I started designing amigurumi patterns after 6 months of making them using other people's patterns. It doesn't take as long as you might think. Especially if you get hooked like I did.
This brings me nicely onto the next step, which is also super valuable for beginners too.
Explore amigurumi patterns by different designers
Before you get started with designing amigurumi, I highly recommend exploring a range of amigurumi patterns by different crochet designers.
There are a few reasons I suggest this, but the biggest one is because you'll start to learn what you do like and what you don't like.
From the way patterns are written (the pattern terminology), to the way they're laid out, the types (and amount) of images used within the pattern, and the information they include.
By using different patterns, you'll also explore different techniques and stitch combinations that will help you start to recognise how certain shapes are created.
Once you’ve gotten to grips with crocheting amigurumi and had fun trying other patterns, we get to the fun part - coming up with your own amigurumi design ideas.
Come up with an original amigurumi design idea
Now, if you're anything like me, coming up with an amigurumi design idea can sometimes be the biggest challenge. Let alone an original amigurumi design idea! I mean, everything's been done already, hasn't it?
Don’t worry, it hasn’t! Just because there are 101 crochet koala amigurumi patterns out in the world for example, doesn't mean that you can't design a koala that's different to the other patterns out there. The shapes and techniques you use will be different, especially if you've come up with an original idea.
Long story short, originality is really the key. Especially when it comes to avoiding copyright infringement.
So how do you go about finding that original amigurumi design idea?
It's simple really, you get creative! And honestly, my biggest tip is to avoid looking at other amigurumi designs out there when it comes to developing your own idea. This will help you avoid copying and ensure your idea is completely original.
Personally, my biggest source of inspiration is Google image searches of animals and in particular, cartoon animals. Pinterest searches are also great!
Now, I never copy these cartoon drawings, but they give me inspiration and ideas of key features I want to include in my Ami. Essentially, most of my designs have been developed from a mishmash of various cartoon images that have captured my imagination.
There are so many great ways to come up with ideas, and if you're super stuck, just search for design thinking activities online. Check out this list of 10 activities to generate better ideas by IDEO for example. While the activities listed within the article are said to be for groups, many of them could be individual activities you undertake on your own.
Draw your amigurumi design idea out
Did I hear you just gasp? Honestly, I hated the idea of having to draw my amigurumi designs out before I made them. So much so that the first few amigurumi patterns I published, I never drew...
However, after taking Veronica’s Amigurumi DesignLab, I now always draw my amigurumi out before I pick up my yarn and hook. And, I really couldn't recommend it more! It will honestly make your life so much easier in the long run and give you a roadmap to your final make.
Seriously, even if you think you can't draw, pick up a pen and paper and give it a go. I honestly thought I was awful at drawing when I first started but I'm so glad I persevered.
Identify the shapes you need to crochet
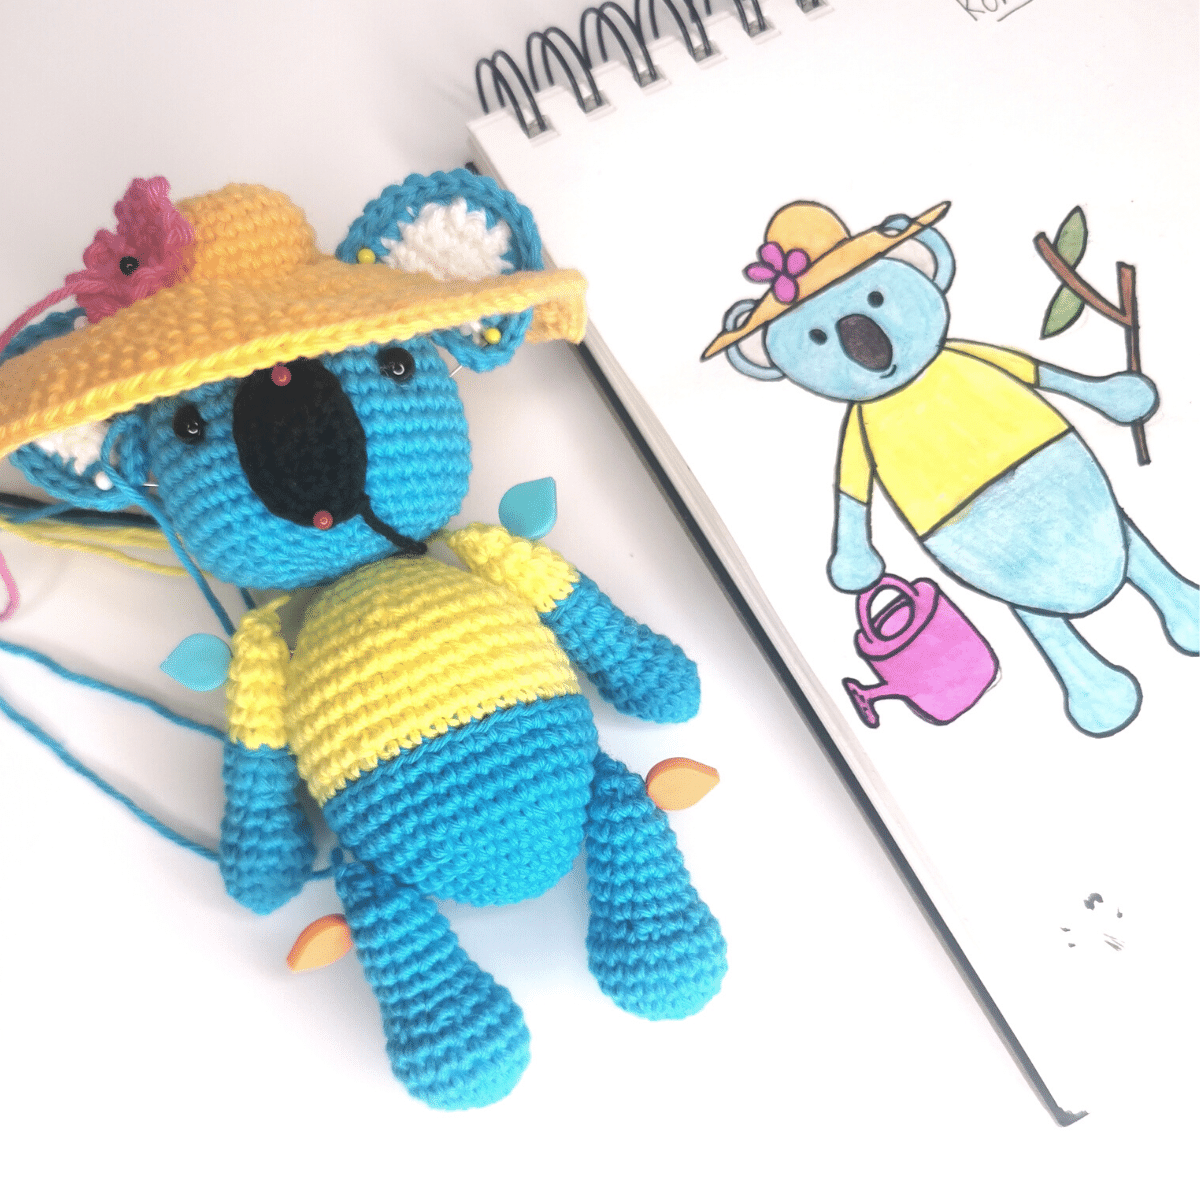
Kira the Koala’s amigurumi design in progress
This is where your drawing will come in handy! Once you've drawn your amigurumi idea out this should give you a visual map to help you work out what amigurumi shapes you need to make. For example, here's my drawing of my amigurumi design Kira the Koala with my make in progress.
While my drawing isn't perfect, It does help to clearly identify the shapes of the amigurumi that I needed to crochet.
From this drawing I decided to split up the crochet elements into the sections as follows:
Semi-circle ears
Sphere head
Oval body
2 pill shaped arms with larger ends for the hands
2 pill shaped legs with larger ends for the feet
Other than the shapes you need to make, you'll also need to think of what size you want your final amigurumi to be and what type of yarn you'll use.
Choose your yarn and colours
Now by this stage you may already have an idea of the colours of yarn you'd like to use, especially if you coloured in your amigurumi drawing. However, you'll also need to think about the type of yarn you'll use.
Things to think about when choosing your yarn include:
How big do you want your amigurumi to be? If you want your amigurumi to be larger, you could choose a larger yarn like a Worsted Weight or maybe even Bulky yarn. If you want your amigurumi to be small, you'd want to select a thinner yarn like DK, 4-ply or even potentially lace if you’re going for miniature.
What kind of appearance do you want your amigurumi to have? Do you want it to be soft and cuddly? If so, maybe you'd opt for something like a chenille yarn. Do you want your amigurumi to hold its shape and have nice defined stitches? In this case you might opt for a cotton yarn. Do you want something slightly softer but less fluffy? You may opt for an acrylic blend.
These are all things to think about when choosing your yarn.
As for choosing your yarn colours - go wild! The choice is completely up to you. My biggest tip is to choose colours you like. Be true to yourself and you'll enjoy your finished amigurumi design so much more.
Start crocheting and notetaking
Now it's time to start crocheting and notetaking. Seriously, whatever you do, don't forget to write down as many notes as you can, from the materials (and amounts that you use), to the crochet steps you’ve taken to make your amigurumi. It's an absolute nightmare trying to go back and remember the stitches you've made if you haven't taken notes.
When it comes to crocheting your amigurumi pieces that you've identified, I find it helpful to always start with a central shape. For example, a body or a head.
This will help you get the proportions right for your other pieces. My general rule of thumb is to start with the biggest shape and work your way down to the smallest shape. This of course depends on your amigurumi design, but generally one of my central shapes (head or body) are always the larger shapes - but that may not be the case with your design (it doesn’t have to be!).
Frog and iterate when you need to
Frogging and iterating is part and parcel of amigurumi designing, especially when you're first starting out.
This was something I learned early on when I designed my first ever crochet pattern, Succulent Strawberries. I found it challenging to get the proportions right for my strawberry designs (the bottom and tops) when I first started crocheting them. So much so, that I made more than 5 strawberries until I found ones I was happy with proportion wise.

Iterations of my Succulent Strawberries (my first ever 3D crochet design)
Designing can be very frustrating, because it's not as simple as crocheting the item and then being finished with it. Often you'll come into situations where you're not quite happy with a shape or the size of a shape, and you will have to either frog or make it again. But don't let this stop you! It is massively rewarding once you've nailed it.
Here are my finished Strawberries, just in case you want some inspiration (or relief! haha).

My Completed Succulent Strawberries Design
Take photos while you crochet
Another huge tip I have for you and a step that comes with writing quality amigurumi patterns, is to take photos while you crochet.
Now, these photos are for your final crochet pattern rather than for yourself. So make sure they are clear and they're of a quality you'd be happy sharing with others.
I use my phone (not a professional camera), a white little backdrop set up on my desk, a reflector, a ring light and a phone stand. Now, you don't need all of this equipment, but a second pair of hands or a tripod for your phone will come in handy especially for those shots when you need to use your hands to show a crochet step.
As for what to take photos of, this is really up to you depending on how many photos you would like to include in your patterns.
I personally like to include photos throughout all of my PDF patterns that make it as easy as possible for other Crocheters (even newbies). However, my pattern layout is setup so the photos aren't in the way of the text.
As a general rule of thumb I take photos of every individual amigurumi piece once it's completed, photos of any steps that may be slightly challenging or potentially slightly usual, and lots of photos throughout the assembly process to help with sewing positioning.
This does really all come down to personal preference, but it is a lot easier to take photos of steps when you're designing. Rather than getting to the end and realising you need photos in of certain steps. It'll save you a lot of hassle and potentially save you from having to make your design again.
Make your digital amigurumi pattern
Once you have your amigurumi made, your notes all written out, and your photos, it's time to write your pattern up on the computer.
I use Canva, which is essentially an online graphic design platform that isn't as complex as something like InDesign. However, you can also use any other programmes that allow you to save a document to PDF once you're done. Examples include:
Microsoft Word
Microsoft Pages
Microsoft Publisher
Microsoft PowerPoint
Google Docs
Google Slides
InDesign
There are some key sections that you will need to include in your crochet pattern other than the actual pattern itself. Additional items include:
Materials needed
Yarn, colours & yardage (amount of yarn used/needed)
Crochet pattern terms used (e.g. US or UK terms for example)
Abbreviations key for the pattern
Amigurumi size (how big is it once it’s crocheted)
Additional pattern notes such as tips to help Crocheters make their Ami look like yours (e.g. I always add a note about using a smaller crochet hook than the yarn label recommends) and anything special for the pattern (e.g. instructions on how to make any special stitches used)
Your copyright notice
Once your pattern is typed up, this is essentially your first draft. The next step is to get your amigurumi pattern tested.
Get your amigurumi pattern tested
Getting your amigurumi pattern tested by other crocheters is a really important part of the amigurumi design process.
This step will help you validate your design, make sure your pattern works for other crocheters, and most importantly, provide you with feedback on how to improve it.
The important point to mention is that pattern testers should make your pattern how you've written it. The kind of feedback they should offer is around anything they find difficult to understand, errors within the pattern (e.g. a total st count error, st numbers in a row not adding up etc.), or any elements they find difficult to replicate. It is not about getting their feedback on how the fundamental design could be changed. I interviewed Nicole Chase on her tips for Pattern Testers in case you're interested in learning more.
The other really valuable role pattern testers can play is by helping you to promote your amigurumi pattern to other Crocheters by posting photos on social media for example.
So how do you go about finding pattern testers and how many should you have?
The latter is really up to you and your personal preference, but from my experience 3 or 4 pattern testers is ideal. Less than that may not provide you with enough feedback. And more than that often makes it harder to manage in relation to the number of messages and questions that come up throughout the process.
As for how you find pattern testers, I first started out by promoting opportunities on my crochet Instagram account. You could do the same with other social media platforms as well. Crochet Facebook groups are also great, especially if they are specially for Amigurumi or Crochet Pattern Testing. You could also try forums on Ravelry.
My biggest tip is to ensure you have some kind of criteria before publicising your pattern testing opportunity. Things like:
What experience do you expect Crocheters to have? E.g. beginners, intermediate, advanced?
What is the deadline? E.g. when will testers need to complete the pattern and provide you with feedback?
What are your expectations around promotion? E.g. do they need a public social media profile? If so, what platform? Do they need to post photos and tag you on a particular social media platform before, on, or after the pattern release date?
This criteria is of course on top of information they need to decide on whether they can or cannot test for you, e.g. they'll need to know the types of materials they need to make your amigurumi design.
How are pattern testers compensated?
Generally, crochet pattern testers don’t get paid in return for testing (unless they’re testing for a large company). However, it is a nice gesture to provide a free copy of the finalised pattern to them as a thank you.
Now once your pattern has been successfully tested, it's time to make your final pattern edits.
Editing your amigurumi pattern
Last but not least, you’ll need to give your amigurumi pattern a final edit based on your pattern testers’ feedback.
Please don’t be dismayed if you get lots of feedback when you first start out. It’s all a learning process and the majority of pattern testers (especially if they’re experienced) will understand that this. After all, they exist to help you improve your pattern.
Once your happy with your final amigurumi pattern, it’s promotion time!
Publishing & publicising your amigurumi pattern
The final step in the amigurumi design process is to publish and publicise the pattern. Otherwise, how will other crocheters know about it or access it?
When I say ‘publish’, I mean having a place where your PDF amigurumi pattern is stored and where people can access it from. There are many ways you can publish a PDF crochet pattern, some ways are free and some cost money. Of course, this also depends on whether you want to sell your pattern, give it out for free, or give it out for free in exchange for an email address.
Some options include:
Ravelry
LoveCrafts
Ribblr
Etsy
Your own website (if you have one, but it isn’t mandatory depending on your goals)
Just be sure to look into the platforms listing and selling fees before you go ahead to make sure you’re fully aware of the commitment and costs involved.
As for publicising your pattern, while often publishing it on one of these patterns will get some eyes on your pattern. The reality is that you will need to do more to make sure your pattern is seen. While there is no right or wrong, I highly recommend publicising your amigurumi patterns on at least one social media account that you’ve created solely for your crochet. Options include (but aren’t limited to):
Facebook (Facebook groups are fantastic too!)
Instagram
TikTok
Pinterest
Twitter
My biggest tip for promotion however is to ensure the account you use is dedicate to your craft. The goal with social media is to cultivate an audience that is interested in what you have to offer, and when it comes to our personal profiles, while our friends and family like what we do it’s unlikely that many of them will want to jump on board the amigurumi-making bandwagon (as much as we wish they would!).
Don’t give up
My final top tip is to not give up. Designing amigurumi can often feel lonely, and it can sometimes feel like a lot of hard work for nothing… Especially when the amigurumi you’ve made hasn’t turned out exactly how you wished it would, and/or other crocheters don’t pick up or use your patterns (that you know of). But consistency and practice is key.
You will get better at your craft, your patterns will improve over time, and the more you promote the wonderful work you do, the more likely it is that you’ll be seen and other crocheters will use your patterns. Please don’t let the hard work turn you off if you’re really keen to give it a try. It is so so worth it, especially if you get enjoyment from it too (the most important part!).
I sincerely hope this blog post has helped you with your goal of designing amigurumi.
Don’t forget to let me know what you think by leaving a comment below. I’d love to hear from you, and I’d also love to follow you on your crochet designing journey (hit me up on social media @cillacrochets).
Until next time, happy crocheting,
Cilla x